Hey, my name is Kelvin John, today I walk you through a step-by-step tutorial. You’ll learn how to go from zero to a fully working WordPress website hosted on NameCheap. Here’s a quick overview of what we’ll cover:
- How to sign up for a NameCheap account, if you haven’t done so already.
- How to install WordPress on NameCheap.
- How to configure your new site to make it a success.
Right now just relax and read on. Please don’t forget to leave a comment below if you enjoy this post or have any interesting opinions on the topic—I look forward to reading your comment(s).
Table of Contents
- Introduction
- What is NameCheap and Why Use It?
- Step 1: Signing Up for a NameCheap Account
- Step 2: Choosing a Hosting Plan and Domain
- Step 3: Installing WordPress on NameCheap
- Step 4: Configuring Your New WordPress Site
- Step 5: Launching and Maintaining Your Site
- Troubleshooting Tips and Best Practices
- Conclusion
Introduction
Starting a website can seem overwhelming, but with NameCheap and WordPress, you can have your website up and running in no time. In this tutorial, I will guide you through each step—from signing up for your NameCheap account to installing and configuring WordPress—so that even if you’re a complete beginner, you can follow along with ease.
Whether you plan to blog, start an online business, or simply create a portfolio. This guide is designed to get you started with the basics and then I will move on to the best practices for maintaining and securing your site.
What is NameCheap and Why Use It?
NameCheap is a popular domain registrar and web hosting provider known for its affordable pricing and reliable services. It offers a variety of hosting plans including shared hosting, VPS, dedicated servers, and even managed WordPress hosting (EasyWP). Many new website owners choose NameCheap because of its user-friendly interface and excellent customer support.
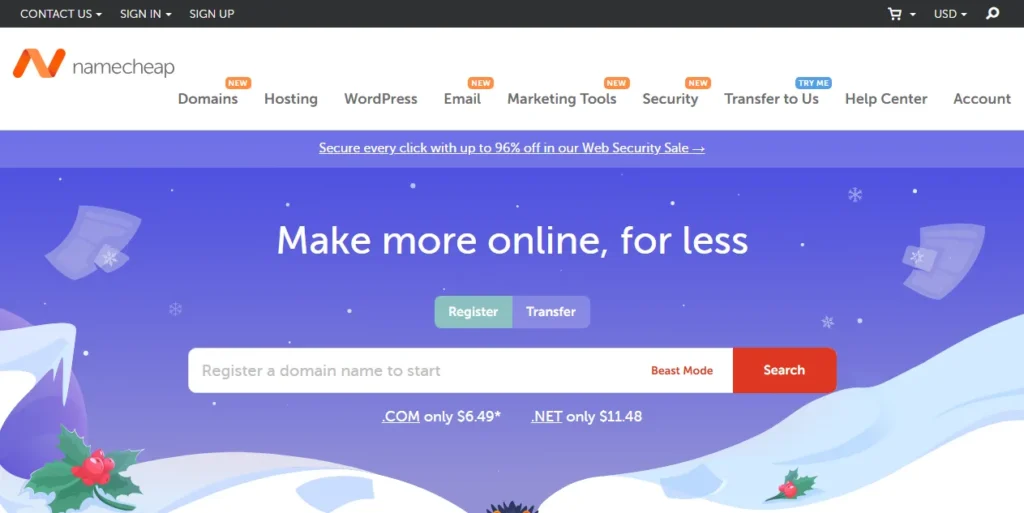
Using NameCheap, you can:
- Easily register a domain name.
- Access affordable hosting solutions.
- Benefit from one-click installations for WordPress using tools like Softaculous.
- Enjoy built-in security features and free SSL certificates on many plans.
For more detailed information on NameCheap’s offerings, check out their official guide.
Step 1: Signing Up for a NameCheap Account
Before you can install WordPress, you’ll need a NameCheap account. Follow these steps to get started:
- Visit the NameCheap Website:
Go to NameCheap.com and click on the “Sign Up” button. - Fill in Your Details:
Provide the required information, including your email, username, and password. Make sure to choose a strong password to protect your account. - Verify Your Email:
Once you register, NameCheap will send you an email verification link. Click on the link to activate your account. - Explore the Dashboard:
Familiarize yourself with the NameCheap dashboard where you can manage your domains, hosting plans, and more.
Following these steps ensures that you have a secure account ready to manage your website and domain purchases.
Step 2: Choosing a Hosting Plan and Domain
Registering Your Domain Name
A domain is your website’s address on the internet (e.g., www.originalwholesales.com). You can either purchase a new domain through NameCheap or use an existing one.
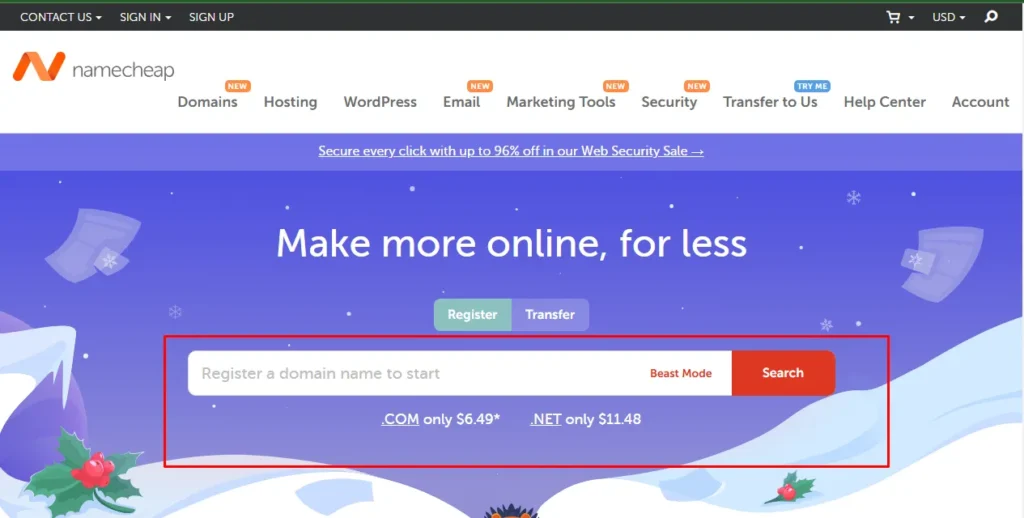
- Search for a Domain:
Use the domain search feature on NameCheap’s homepage to find a domain that suits your brand. - Register Your Domain:
Once you find an available domain, follow the prompts to register it. This process is usually quick and inexpensive.
Selecting a Hosting Plan
NameCheap offers several hosting plans tailored for different needs:
- Shared Hosting: Great for beginners due to its affordability.
- Managed WordPress Hosting (EasyWP): Ideal if you want a hassle-free, managed experience where updates, security, and backups are taken care of.
- VPS/Dedicated Hosting: For advanced users who need more power and control over their environment.
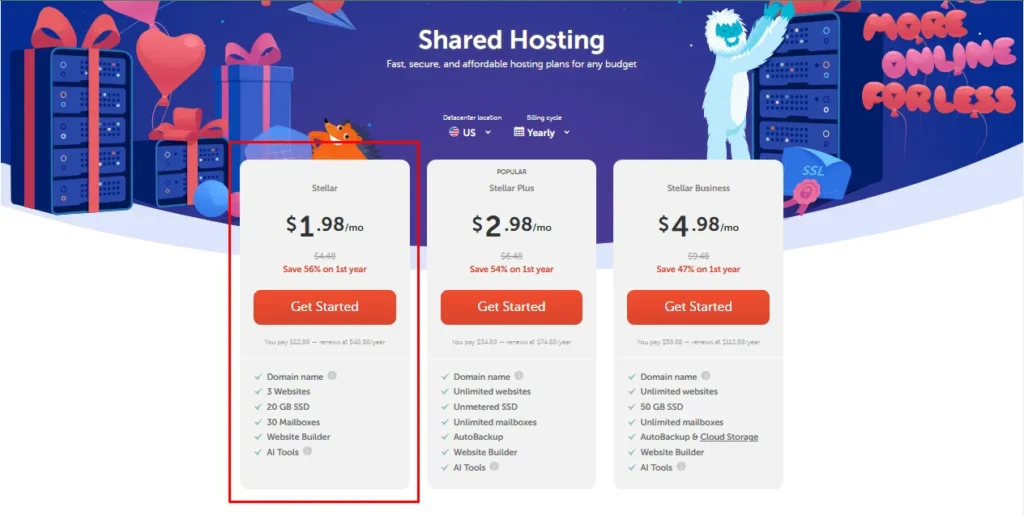
For this tutorial, we’ll focus on installing WordPress on a shared hosting plan using NameCheap, as it’s a popular choice among newbies.
For more details on hosting plans and recommendations, refer to NameCheap’s hosting guide.
Step 3: Installing WordPress on NameCheap
Now that you have your account, domain, and hosting plan set up, it’s time to install WordPress. There are two primary methods: the one-click Softaculous installer and manual installation via cPanel/FTP.
Option 1: Using the One-Click Softaculous Installer
One of the easiest ways to install WordPress on NameCheap is by using Softaculous, which automates most of the process.
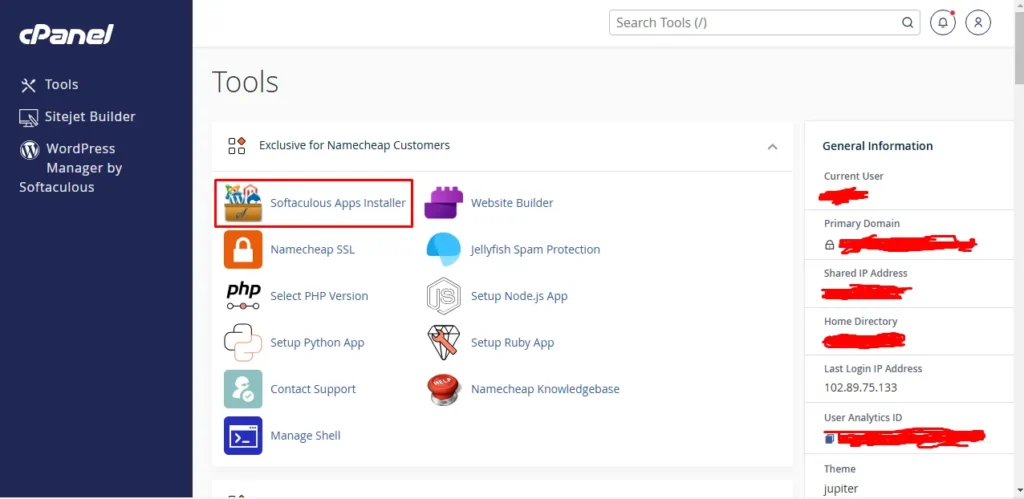
Steps to Install via Softaculous:
- Log into Your cPanel:
Access your hosting dashboard and locate the cPanel section. - Find Softaculous:
Scroll to the “Software” section and click on the Softaculous Apps Installer.
(This process is detailed in NameCheap’s Softaculous guide.) - Select WordPress:
Click on the WordPress icon and then hit the “Install” tab. - Fill Out Installation Details:
- Choose Domain: Select the domain where you want to install WordPress.
- In Directory: Leave this field blank to install in the root directory, or type a folder name (e.g., “blog”) if you prefer a subdirectory.
- Site Settings: Fill in your site name and tagline.
- Admin Account: Set up your username and password for the WordPress admin panel.
- Advanced Options: Configure additional settings such as the table prefix (for security, you might change this from the default “wp_”).
- Click Install:
Softaculous will now automatically create a database, upload the necessary files, and complete the installation. You’ll receive a confirmation message once it’s done.
This method is recommended for beginners due to its simplicity and speed.
Option 2: Manual Installation via cPanel and FTP
If you prefer to have more control over the process or want to learn how WordPress works under the hood, you can install it manually.
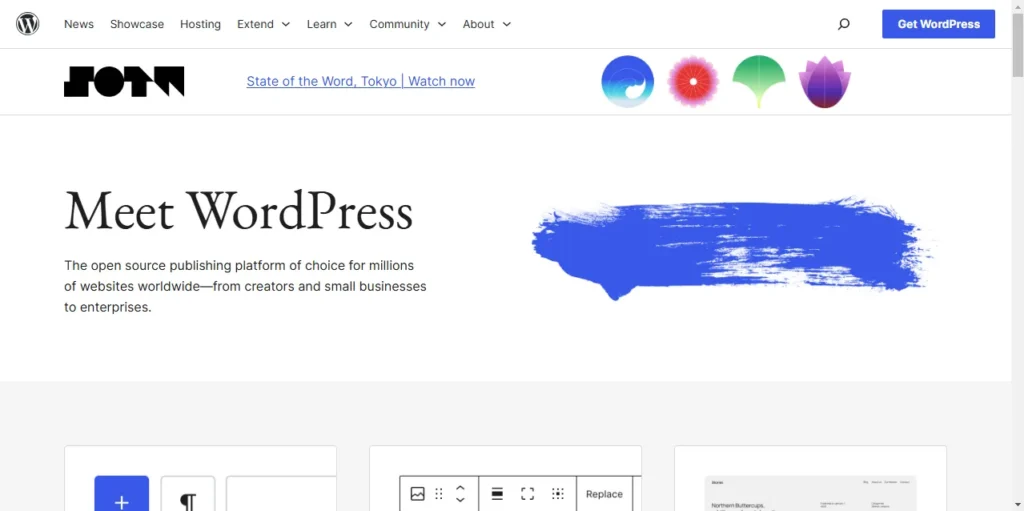
Steps to Install WordPress Manually:
- Download WordPress:
Visit WordPress.org and download the latest version. - Upload Files to Your Server:
Use an FTP client like FileZilla or the cPanel File Manager to upload the WordPress files to your hosting account (typically in thepublic_htmldirectory). - Create a MySQL Database:
In your cPanel, navigate to the “Databases” section and create a new MySQL database and user. Assign all necessary privileges to the user. - Configure wp-config.php:
Rename thewp-config-sample.phpfile towp-config.phpand enter your database name, username, and password. - Run the Installation Script:
Open your browser and go tohttp://yourdomain.com/wp-admin/install.php. Follow the on-screen instructions to set up your site details and create your admin account.
Manual installation provides a deeper understanding of the system and can be useful if you run into custom configuration requirements.
Step 4: Configuring Your New WordPress Site
Once WordPress is installed, you’ll need to configure it to suit your needs. This involves both basic settings and additional customization.
Basic Settings and Customization
- Log in to the WordPress Dashboard:
Access your admin area athttp://yourdomain.com/wp-adminusing the credentials you set during installation. - General Settings:
Go to Settings > General and update your site title, tagline, and timezone. You can also adjust the language and other basic preferences here. - Permalink Structure:
Navigate to Settings > Permalinks and choose a URL structure (the “Post name” option is highly recommended for SEO purposes).
Installing Themes and Plugins
- Choosing a Theme:
- Go to Appearance > Themes and click “Add New.”
- Browse free themes or upload a premium theme. Use the “Live Preview” option to see how it looks before activating.
- Installing Plugins:
- Plugins add functionality to your WordPress site. Head to Plugins > Add New and search for essential plugins such as security (All In One Security), SEO (Yoast SEO), caching (WP Super Cache), and backups (UpdraftPlus).
- Install and activate plugins that meet your site’s needs.
Securing Your Website with SSL and Backups
- Enable SSL:
Secure your site by installing an SSL certificate. Many NameCheap hosting plans come with free SSL. Activate SSL via your cPanel or through your hosting dashboard. - Regular Backups:
Set up regular backups using plugins like UpdraftPlus or VaultPress. Backups are crucial to safeguard your website in case of an unexpected issue. - Security Plugins:
Consider installing security plugins (such as Wordfence or All In One Security) to protect against malware and unauthorized access.
These steps help ensure that your website is not only functional but also secure and reliable.
Step 5: Launching and Maintaining Your Site
Finalizing Your Site for Launch
- Review All Settings:
Go through each section of your WordPress dashboard and make sure everything is configured correctly. Test your site’s functionality and appearance across different devices. - Create Essential Pages:
Add pages like “About,” “Contact,” and “Privacy Policy” to build trust with your visitors. - SEO and Analytics:
Install an SEO plugin and set up Google Analytics to monitor your site’s performance.
Ongoing Maintenance
- Update Regularly:
Always keep WordPress, themes, and plugins updated to the latest versions to avoid security vulnerabilities. - Monitor Performance:
Use caching plugins and consider a content delivery network (CDN) if your site grows in traffic. - Engage with Your Audience:
Encourage comments, respond to feedback, and continually optimize your content based on visitor behavior.
For further assistance with maintenance, refer to additional resources provided by NameCheap and the broader WordPress community.
Troubleshooting Tips and Best Practices
- Common Issues:
- White Screen of Death: Often caused by plugin conflicts. Deactivate plugins one by one to identify the culprit.
- Database Connection Errors: Double-check your
wp-config.phpfile for accurate database credentials. - Slow Loading Times: Use caching, optimize images, and consider upgrading your hosting plan if necessary.
- Best Practices:
- Always back up your site before making major changes.
- Use strong passwords and enable two-factor authentication.
- Regularly review your website’s analytics to improve user engagement.
For more troubleshooting tips, explore community forums or the extensive documentation on the WordPress Codex.
Conclusion
Congratulations! You now have a fully functioning WordPress site hosted on NameCheap. In this tutorial, we covered everything from signing up for your NameCheap account to installing WordPress via the one-click Softaculous installer or manually through cPanel and configuring your site for success.
Remember, launching your website is just the beginning. Regular updates, security checks, and audience engagement are key to long-term success. I hope this guide has made the process clear and approachable.
If you enjoyed this post or have any questions or suggestions, please leave a comment below. I look forward to reading your comment(s) and helping you further on your web development journey!
Happy blogging and best of luck with your new website!
Feel free to share this guide with others who might find it useful. Enjoy your new adventure in the world of WordPress and NameCheap hosting!
